What Triggers After You Import
Once you upload your CSV and choose which donors to email based on eligibility, the matching module sends automated emails via the email streams you’ve enabled, honoring the send times you configured for each stream.
-
Example: If the initial send time for your Match-Eligible stream is set to 0 hours, selected donors from the CSV will receive an email immediately after import. (Screenshot on page 1 shows the stream Enabled with “Send email after: 0 hours.”)
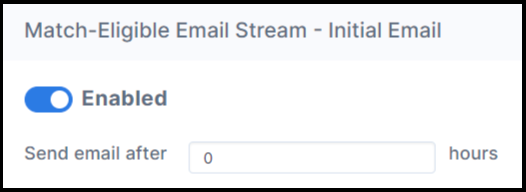
Make sure your automated email streams are enabled before importing so messages can go out.
View this article to learn more about triggering automated outreach.
Post-Import: Where to Review the Results
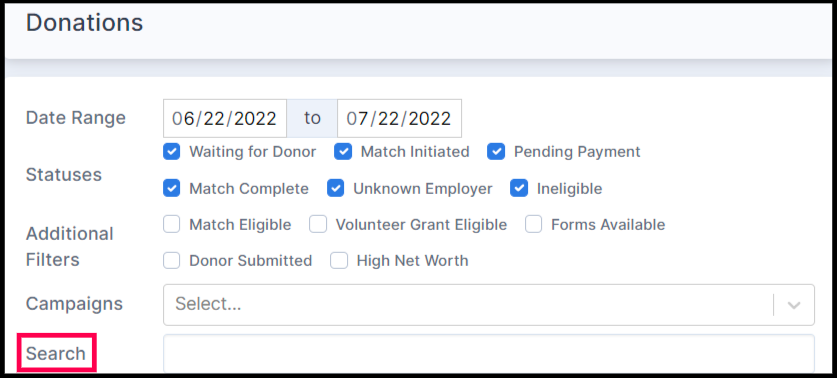
Go to the Donations tab to view the donation records created by your import.
-
Adjust the Date Range to cover the timestamps in your CSV, then use the Search box to find specific records.
Quick Post-Import Checklist (Do This Every Time)
Use this to confirm outreach fired and records are visible.
-
Confirm streams are enabled (Match-Eligible, etc.) and verify send delays (e.g., 0 hours for instant sends).
-
Verify emails were queued/sent according to the stream’s schedule you selected during import.
-
Review Donations → Date Range to include your CSV timestamps; then Search for test records.