
Step 1: Create and Manage Sponsorship Programs
Step 2: Customize Plugin Appearance
Step 3: Embed Code and Register Your Dedicated Page
Overview
The Double the Donation Corporate Sponsorships plugin replaces static downloadable PDF decks with an interactive website display. It allows your organization to showcase sponsorship opportunities online, highlight corporate benefits, and collect commitments and custom inquiries directly on your site.
Setting up your corporate sponsorships plugin involves three main steps:
- Sponsorship Programs: Creating and managing your sponsorship package tiers.
- Appearance Settings: Customizing the visual styling, branding, and text copy of your plugin.
- Embed & Page Setup: Installing the plugin on your website and registering your dedicated page URL.
📚 Looking to explore corporate grant and in-kind listings? Learn how corporate sponsorships, grants, and in-kind giving work across our database in our guide on Corporate Sponsorships in Our Database.
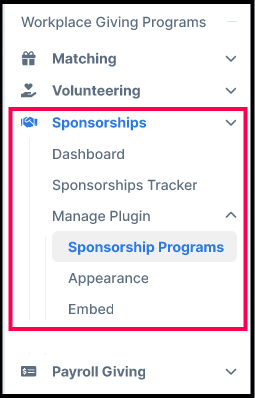
To begin, log in to your Double the Donation account and navigate to Sponsorships → Manage Plugin in the left sidebar menu.
Step 1: Create and Manage Sponsorship Programs
Sponsorship Programs allow you to define the specific package levels (e.g., Bronze, Silver, Gold) presented to potential corporate partners .
- Navigate to Sponsorships → Manage Plugin → Sponsorship Programs.
- Click + Create New (or select an existing card to edit).
- Complete the program configuration sections:
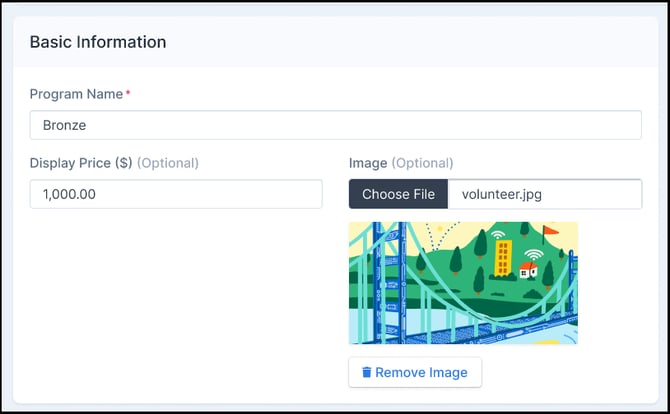
Basic Information
- Program Name: Enter the title of your sponsorship tier (e.g., Bronze, Silver, Community Partner).
- Display Price (Optional): Enter the financial commitment required for this level.
- Image (Optional): Upload a graphic or image representative of the tier.
The Pitch
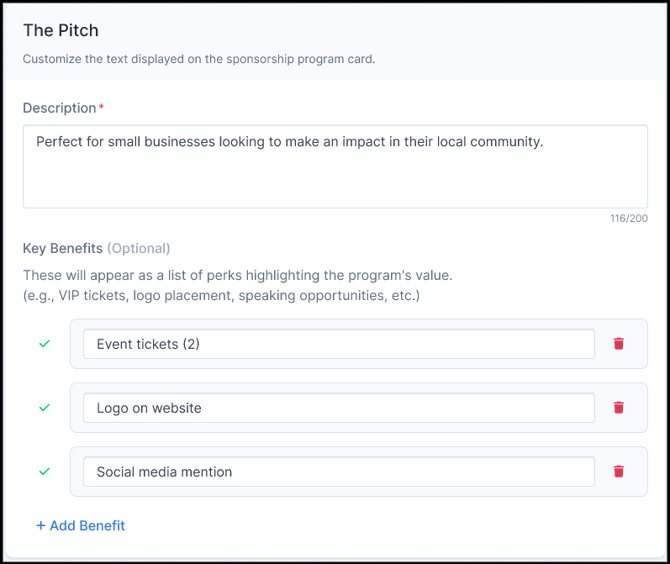
- Description: Write a brief overview customizing the value proposition displayed on the program card.
- Key Benefits: Add itemized perk tags to highlight specific deliverables offered to corporate sponsors (e.g., Event tickets, Logo on website, Social media mention, Speaking opportunity). Click + Add Benefit to add additional lines.
Commitment Form
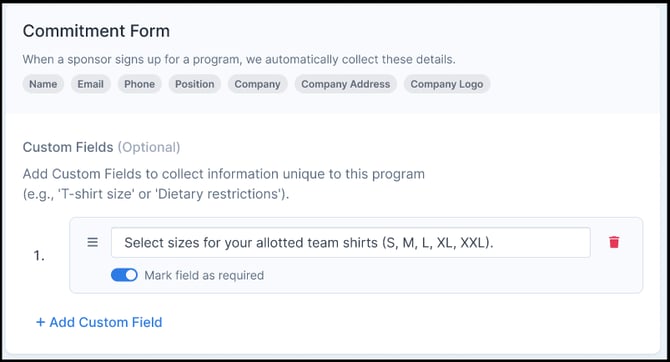
- Select the fields required from corporate representatives when they submit a commitment (e.g., Name, Email, Phone, Position, Company, Company Address, Company Logo). You can also add custom fields (e.g., T-shirt size, Dietary restrictions).
💡 Need help creating your corporate sponsorship tiers and structuring your packages? Check out our guide on Building Custom Sponsorship Tiers with the Sponsorship Tier Builder Tool to automatically generate tailored packages, perk lists, and pricing.
Program Locking & Creating New Versions
To preserve historical record accuracy for past sponsors, a published program automatically locks into Read-Only Mode once a corporate commitment has been submitted against it.
If you need to update pricing, descriptions, or benefits for a locked program:
- Open the locked program card and click + Create New Version in the right sidebar panel.
- Enter a Version Name (e.g., Spring 2026 Update) and optional internal revision notes.
- Modify any of the pre-filled fields (e.g., adjust display price or add new benefits).
- Click Publish Version.
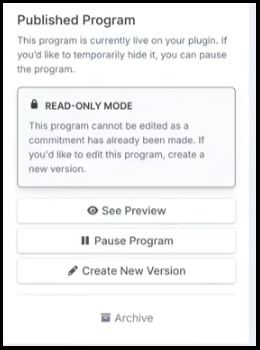
Note: Publishing a new version updates the live card on your embedded website plugin immediately. Existing corporate commitments remain linked to the historical version under which they were submitted. You can review past iterations at any time by clicking See Version History in the right sidebar panel.
Step 2: Customize Plugin Appearance
You can tailor the design, color scheme, and text copy of your plugin to match your organization’s branding guidelines.
- Navigate to Sponsorships → Manage Plugin → Appearance.
- Customize the following fields:
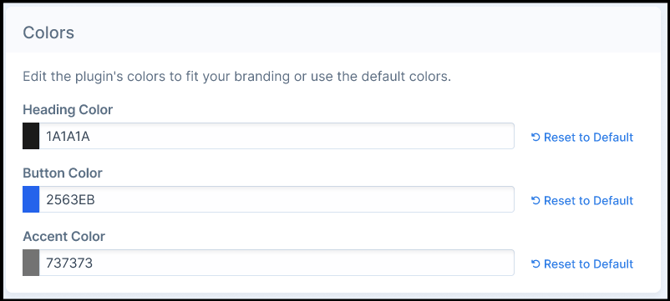
Brand Colors
- Heading Color: Controls title and main section heading text colors.
- Button Color: Sets the fill color for interactive call-to-action buttons (e.g., Select This Program).
- Accent Color: Controls highlights, borders, and secondary visual accents.
Main Text Copy
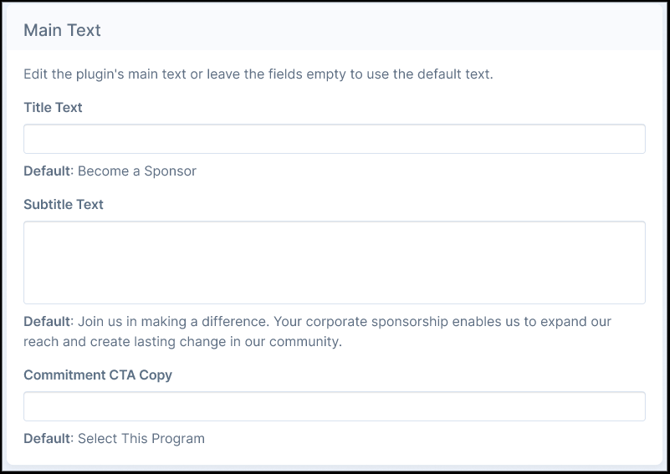
- Title Text: Custom headline (Default: Become a Sponsor).
- Subtitle Text: Optional secondary heading text.
- Default Pitch Body Text: Summary copy explaining the community impact of corporate partnerships.
- Commitment CTA Copy: Custom text rendered on selection buttons (Default: Select This Program).
Contact Us Section (Custom Inquiries)
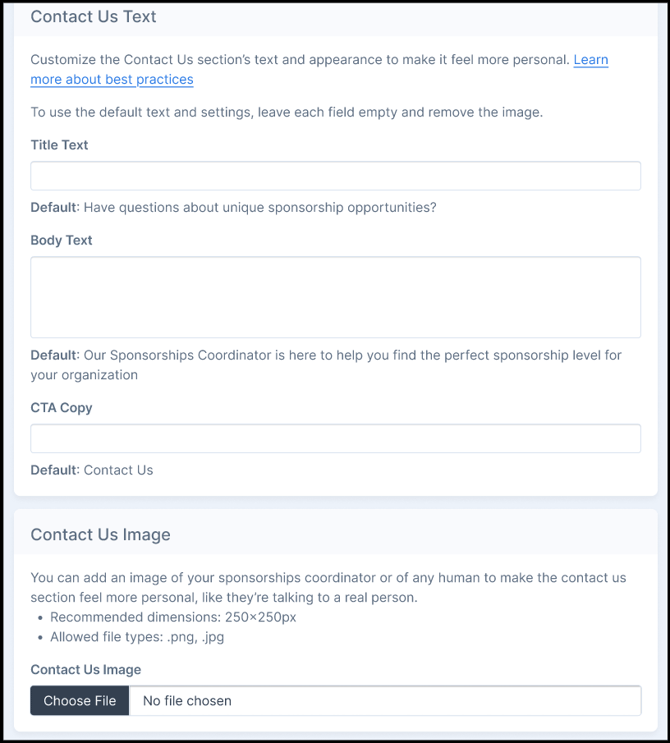
Customize the secondary inquiry block that appears beneath your main sponsorship cards for prospective partners seeking custom packages or who have general questions:
- Contact Us Title & Body Text: Add custom copy guiding partners who require unique sponsorship arrangements.
- CTA Copy: Button label for direct inquiries (Default: Contact Us).
- Contact Us Image: Upload a representative photo or headshot (e.g., your Sponsorship Coordinator) to personalize inquiry outreach.
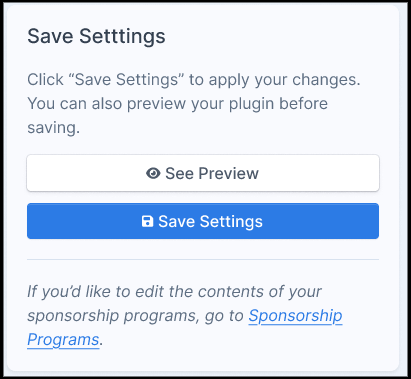
Click See Preview to review your adjustments, then click Save Settings to push changes live.
Step 3: Embed Code and Register Your Dedicated Page
To display the sponsorship plugin on your website, copy your unique code snippet, paste it into your website editor, and register your live webpage URL in Double the Donation.
Copy Your Plugin Embed Code
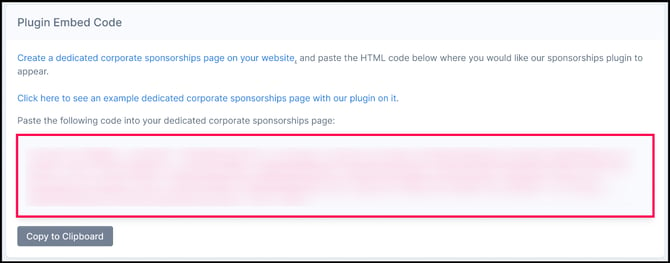
- Navigate to Sponsorships → Manage Plugin → Embed.
- Under the Plugin Embed Code section, locate the HTML script snippet.
- Click Copy to Clipboard.
Add the Code to Your Website
- Log into your website content management system (CMS), such as WordPress, Squarespace, Wix, Drupal, or the like.
- Open your dedicated corporate sponsorships webpage (e.g., "Corporate Sponsorships" or "Partner With Us").
- Add an HTML or Code block where you want the plugin to render.
- Paste the copied embed code into the block and publish the webpage.
Register Your Dedicated Page URL
Registering your live URL ensures automated communications and system links direct potential corporate partners to the correct page on your site.
- Return to Sponsorships → Manage Plugin → Embed in your Double the Donation account.
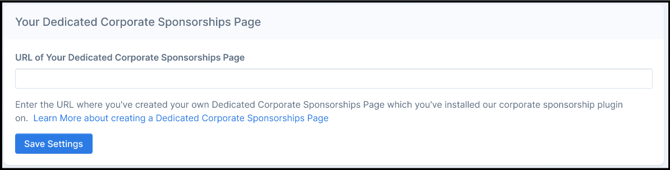
- Scroll to the Your Dedicated Corporate Sponsorships Page section.
- Enter the full web address (e.g., [https://www.yourorganization.org/corporate-sponsorships](https://www.yourorganization.org/corporate-sponsorships)) in the URL of Your Dedicated Corporate Sponsorships Page field.
- Click Save Settings.
Frequently Asked Questions
Q: Why is my sponsorship program in "Read-Only Mode"?
A: Programs lock automatically once a corporate partner submits a commitment against them. This prevents accidental edits from altering historical records. To change pricing or benefits on a locked program, click + Create New Version.
Q: What is the difference between a commitment and an inquiry on the live plugin?
A: A commitment is created when a sponsor selects a specific package tier card. An inquiry is created when a business uses the "Contact Us" section to request custom options or ask questions. Both flow directly into your account's Plugin Inbox.